Lambda
This walkthrough is aimed at first-time users of Argonaut. You will automate the deployment of an example application to AWS Lambda (serverless) runtime on the AWS cloud using Argonaut.
The pre-requisites for this deployment are:
1. Create an account
If it’s your first time using Argonaut, you must sign up for an account. You will then receive an email with an account activation link. Alternatively, if you already have one, log into your account.
2. Create your workspace
Each Argonaut account needs to be associated with one Argonaut workspace.
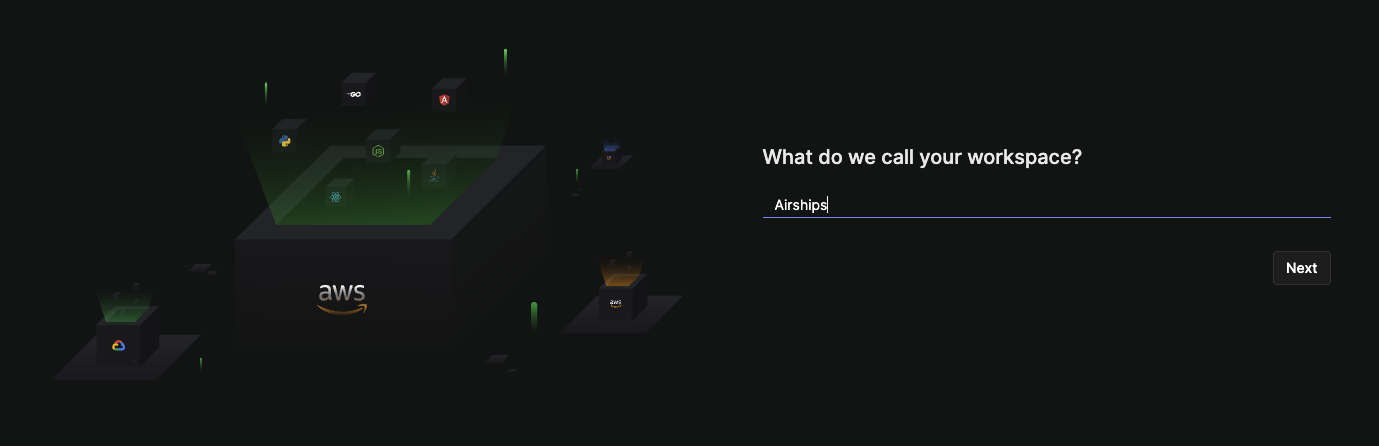
- Type in a name for your
Workspace. This CAN be changed later. - Click
Next
3. Connect your AWS account
You will be taken to the Connections page under Settings. Argonaut connects to AWS as an IAM user. Multiple connections to the same AWS account are not allowed.
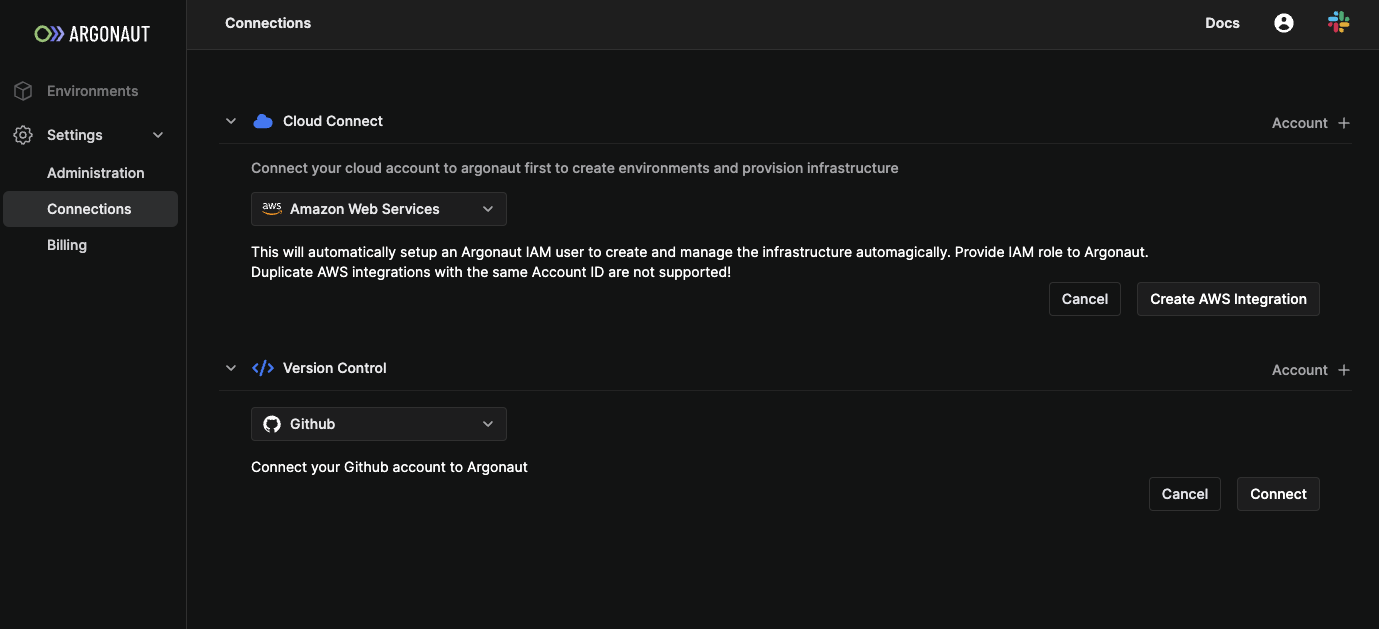
- In the Connect Your Cloud section, select
Account + - Select
Amazon Web Servicesand clickCreate AWS integration - Log into your AWS account, if you aren’t already logged in.
- You’ll be redirected to the AWS CloudFormation's
Create stackpage. - Note that the
Create stackpage is already populated with Argonaut-specific parameters. - Click on the
Create stackbutton. - You should now see the new stack’s page on AWS CloudFormation dashboard.
- Navigate back to
Connectionspage from yourSettings. - Scroll to
Connect Your Cloud—>AWS. - Click
Refresh. - You should see your newly connect AWS account ID.
- Against the AWS account ID, verify that the connection shows as
Successful.
4. Connect your GitHub account
On the same screen, you will see a Version control option. Here, you can connect Argonaut to your GitHub or GitLab repository. For this demo, we use GitHub.
- In the Version Control section, click on
Account + - Choose
GitHub, and click on theConnectbutton - Click on the GitHub account you’d like to connect with Argonaut. You’ll host your sample application on this account.
- Click on
Installto installArgonautBoton your chosen GitHub account. - Enter your password, and click on
Confirm Password. - On successfully connecting your GitHub account, you’ll be redirected to the
Version Controlpage that shows your GitHub account.
5. Create an AWS environment
Argonaut automatically sets up environments easily in minutes
- Select the
EnvironmentsTab from the sidebar. - Click on
Environment + - Choose Amazon Web Services.
- Give your environment a name
env. - Choose your environment’s region. An environment's region CAN’T be changed later.
- Click on
Create.
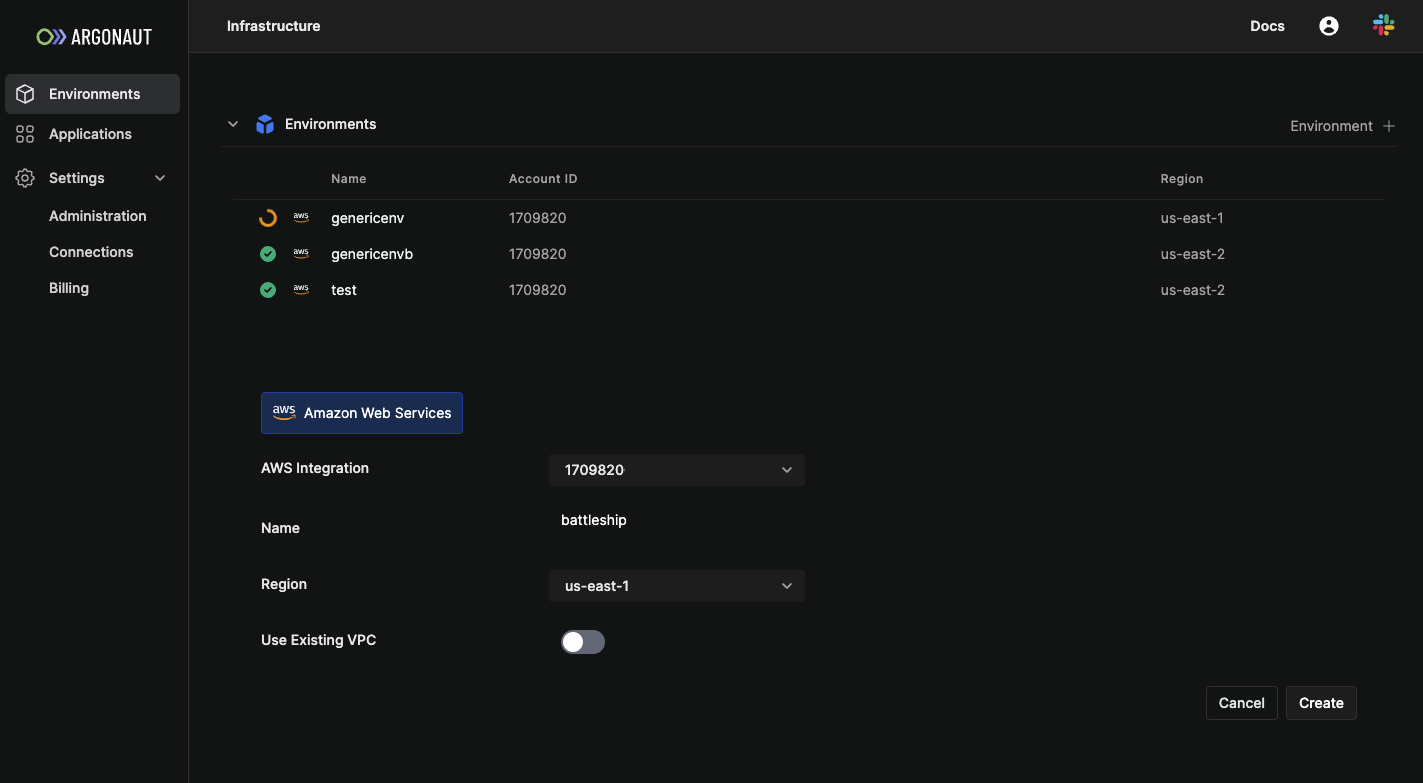
To check if the environment creation was successful, navigate to the environment page from the sidebar, and look for your environment's name in the list. Ready environments have a green check symbol indicating the operational status.
6. Set up automatic deployment
Fork the Examples repository into your GitHub account - the same account that you’ve connected to in Argonaut. The rest of the steps assume that the name of the forked repository is also Examples.
Go to the environment tab, select
envUnder
Lambda, selectApplication +, and choose theFrom GitoptionSelect the
envenvironment from the dropdown.Ensure your GitHub account is selected and the
Examplesrepo andnode-testbranch is set.Fill your App Name as
nodejsexample.- Choose the Build Method as node:latest.
- Fill the port as 3000.
- Fill the Build Context as node-express.
- Fill the Install Dependencies Command as npm i.
- Fill the Run Command as npm start.
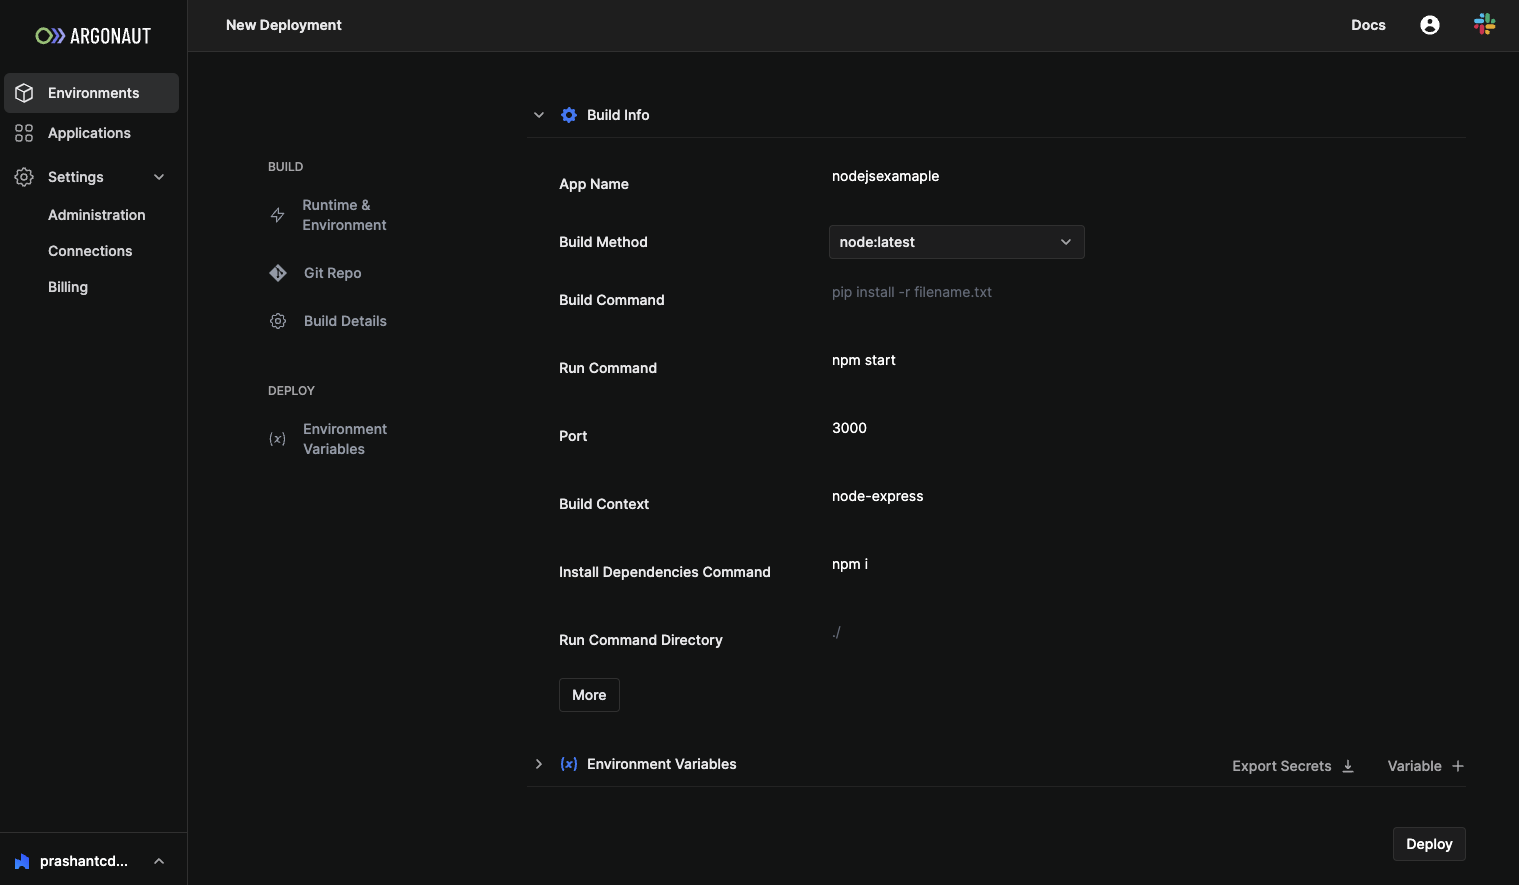
- Click Deploy.
- After clicking
Deploy, you’ll be taken to the deploymentLogs. Your application is now being deployed. - To check if the deployment was complete, look for the
Outputssection in your logs.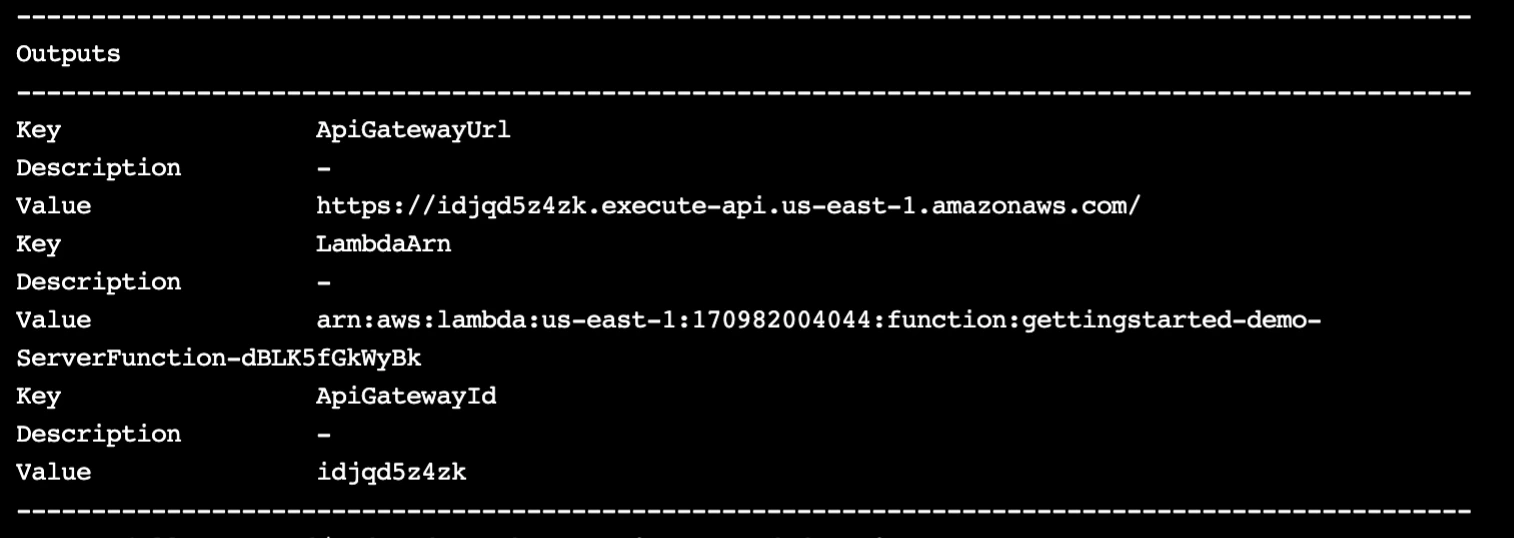
- Your left column should look like the above with
Key,Description,Value, etc. listed. - Now, go to the
Applicationspage and look for your applicationnodejsexample. - Scroll right, and click the
PREVIEW URLagainstnodejsexample. This is the URL where yournodejsexampleapplication is being hosted. - You should see
PING_PONGdisplayed on your screen.
You’ve successfully deployed your example application using Argonaut! Let’s test whether your application now automatically gets deployed when you push a code change.
7. Test automatic deployment
You’re now ready to test if your app gets deployed automatically whenever any code change is pushed to it. Let’s make a code change, and view the app again.
- Git clone your forked
Examplesrepository on your local machine. - Go to its
node-expressfolder. - Open the
index.jsfile. - Change the string
PING_PONGinindex.jstoTEST_AUTO_DEPLOY. - Push this change to your
node-testbranch. - Check your application’s deployments on Argonaut dashboard:
Applications→nodejsexample→Deployments - You’ll see a deployment against your commit ID.
- Once the deployment is complete, navigate to your PREVIEW URL again.
- You’ll see
TEST_AUTO_DEPLOYon your screen.
That’s it!
You just used Argonaut to successfully set up the automatic deployment of an example application on every code push. You can now connect your own app with Argonaut to automate its deployment.